
 Crafty Halloween Ideas #8 -
Decoupage Pumpkins
I decided to do a crafty decoupage pumpkin for my Nancy Drew Halloween party. Part of my decor is black/white mostly so the multi pic endpapers from the Nancy Drew books worked perfectly. It's kind of got a Toile look to it. I think I'm going to paint the stem black tomorrow once it finishes drying overnight.
Materials:
I purchased all of these items at Michaels.
Faux pumpkins
Modge Podge
Foam Brush
Images
 Instructions:
Set up your table with something the pumpkin (and you) won't stick to--I used plastic. Also, cut out your images first so you'll have them ready to go assembly line once you start. Tip: Take a bowl to set your pumpkin in to work on as this makes it easier to work with. I covered my bowl with some saran wrap to keep the modge podge off it. Another Tip: Have your images printed at the copy shop--so the ink won't bleed as it will on an ink jet printer. If you have some special spray then you can print your own and use the spray to keep the ink from running.
 Begin placing your images on the pumpkin--I started out at the bottom and worked my way up. You can brush the pumpkin with modge podge and then place the image but I found it easier to paint it on the bottom of the paper and then apply. I also wore some painters gloves so I wouldn't have to spend half the night scraping modge podge off my hands.
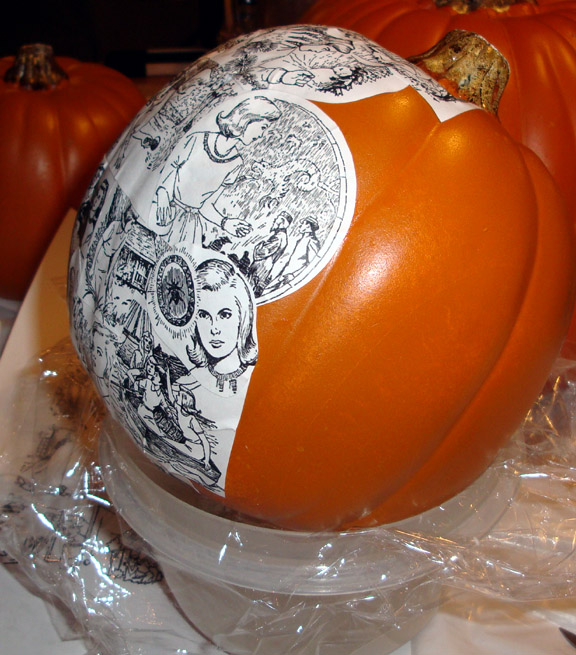 As you work it will go quickly. Sometimes you have to trim things certain ways to make it fit better--I find smaller pieces work better on surfaces like this that aren't flat.
 Do about half the pumpkin at one time and then let it dry and then do the other side. I printed images for the earlier version of these endpapers with the 22 little scenes like the blue multi pic endpapers but didn't get a chance to start the second pumpkin.
It was a pretty easy project to do--you can't really mess up this kind of project! I completed mine while watching Dancing with the Stars and Castle with wait times for drying so it wasn't too time consuming.
Jenn:)
3 comments:
Your pumpkin is awesome! Great job..
Fabulous tutorial! I have a few of those faux pumpkins and some paper mache ones too. They are just screaming for some decoupage!
Love the idea! Very neat. I love Castle! :)
Post a Comment