
Bruce sent me some photos of his pumpkin carving on faux pumpkins--from Funkins to those he has purchased at Michael's. The key he says to carving, is to use a hot knife as it will carve like slicing through butter!


Jenn:)

Vintage Halloween Collectors & Enthusiasts: Here You'll Find Collecting Vintage Halloween, Vintage & Vintage Style Crafts & Projects,Vintage and Vintage Style Halloween Merchandise and Party Planning and Many More Bewitching Things!
.JPG)

 Crafty Halloween Ideas #8 -
 Instructions:
 Begin placing your images on the pumpkin--I started out at the bottom and worked my way up. You can brush the pumpkin with modge podge and then place the image but I found it easier to paint it on the bottom of the paper and then apply. I also wore some painters gloves so I wouldn't have to spend half the night scraping modge podge off my hands.
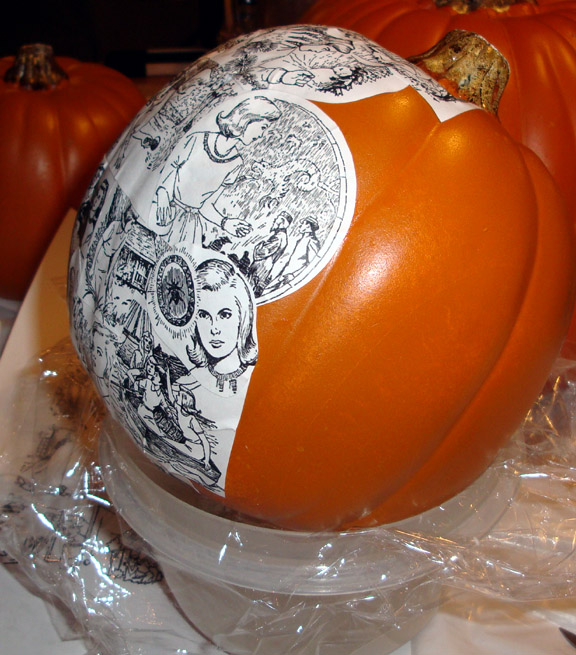 As you work it will go quickly. Sometimes you have to trim things certain ways to make it fit better--I find smaller pieces work better on surfaces like this that aren't flat.
 Do about half the pumpkin at one time and then let it dry and then do the other side. I printed images for the earlier version of these endpapers with the 22 little scenes like the blue multi pic endpapers but didn't get a chance to start the second pumpkin.
 Crafty Halloween Ideas #2 - Cameo Pumpkins
